Hello friends,
Today, I was digging for some information about how to install a nice sound system in E36 cars and I found a very good article here . In this article, a step by step tutorial on how to do is provided. It also describes some of the options like the best tools to use, where to place the amplifier in your trunk. So, are you ready ? No not yet, first the disclaimer
Disclaimer: Use it at your own risk pal!!
OK now I’m ready so here we go 3 . . . 2 . . . 1 . .
When my father ordered his ’98 E38 740i, he opted for the $2200 “premium package.” When the car arrived and I was able to test out the system, it was very disappointing. My Oldsmobile had more bass!!! Well, that’s his car and he can do whatever he wants to it. When it was time to order my ’99 E36 M3, I knew not to opt for the Harmon/Kardon option. The $900 I saved would go towards my aftermarket system.
After much research, listening to people’s setups (thanks Ben), and going to an a/d/s/ sponsored audio tech session in Maryland, I decided on the following setup:
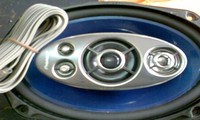
a/d/s/ 335is.2 front separates. I consider these speakers top of the line. Only the PX series is higher but at a significant price premium. Also, the PX series only comes in a 6″ diameter so it wouldn’t fit the kick panel locations without some modifications. Also, keep in mind these are the newly released revision 2 series.

a/d/s/ P840.2 8-channel amplifier. a/d/s/ is well-known for the clear and accurate response.
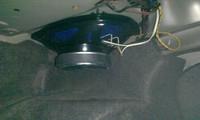
JL Audio stealthboxes in the rear. These fit the ’93-’96 E36 sedan and the ’93-’99 E36 coupe. I wanted to keep the trunk as stock looking as possible and I didn’t want to lose a lot of space to a sub-woofer enclosure. The stealthboxes are 8″ subs. They won’t pack the punch of a 10″ or 12″, but I think I’ll be happy with the 8 inchers..
This writeup will follow the flow of how I did it in real life. If you’re using the stock wires, the project can be partitioned into two sub-projects: 1) replacing the front woofers and tweeters and 2) mounting and installing the amp and running wires (optional).
Replacing the Front Woofers
Remove the driver’s side kick panel. First, you need to remove the hood latch�a philips screw driver will do. There is also a plastic anchor of sorts. A slotted screw driver will do here. Next, slide the lip of the kick panel from under the strip that says M3 in my case (I know, real technical words). Now slide the kick panel forward.
Undo the four bolts holding the factory speaker. I had to solder a new spade connector onto the negative lead because the factory one was too small. Place the gasket seal on the back of the speaker to ensure an airtight seal. Screw the speaker back into place. The green cardboard type insulation material had to be cut in order for the new speaker to fit. Heck, I forgot to put it back in on the passenger side. Hahaha.
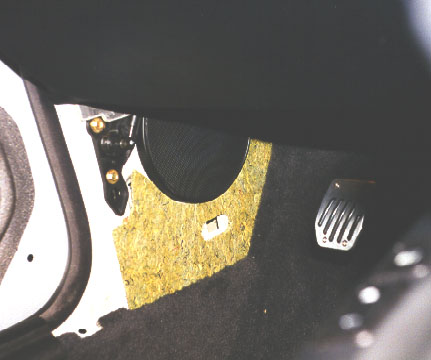
Removal of the passenger side is pretty much the same.
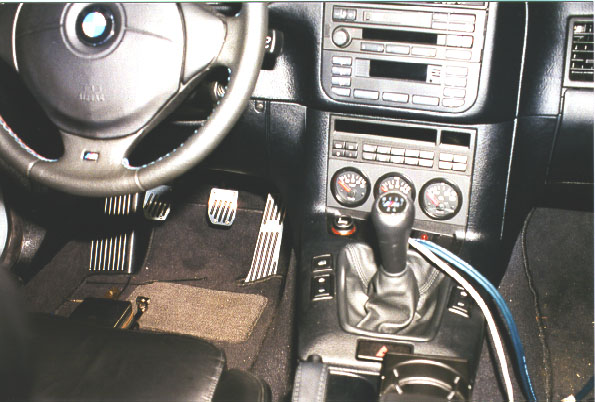
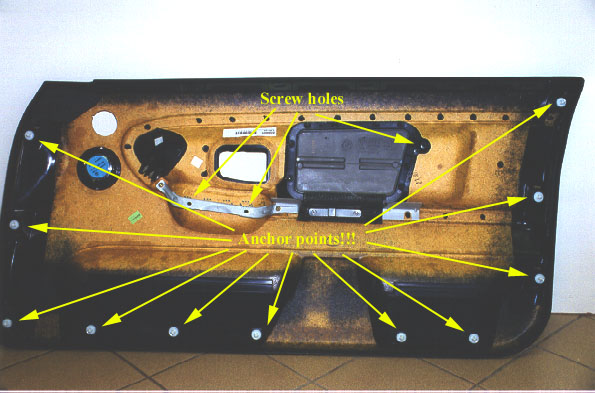
To remove the tweeters, you have to pull the door panel off. To do this, use a butter knife to remove the two plastic covers behind the door pull. Also, remove the little black plastic cover that says, “Airbag.” There are torx screws behind there. For the drivers, side, use a screw driver to push the door latch to fool the system into thinking the door is closed. Cut a butter knife at the lower edge of the door and twist. The whole door panel should pop off. Once one body clip comes off, they all seem to pop off! Be careful with the driver’s door panel because there’s still a connection to the mirror controls.
The tweeter is held in place with a lockring. Twist it off and pop out the factory one. You’ll need to use a dremel and remove the plastic obstruction. Be careful not to go through the grill. Once that’s off, you can use silicone sealant to hold the new tweeters in place. Don�t forget to get your molex 2-conductor connector. I ended up using the cheesy radio shack versions�not as elegant.
Mounting and Installing the Amplifier
I spent many hours just looking for possible areas to mount the amp. Here were the possibilities:
Suspend it from the rear deck shelf.
Mount it to the back of one of the fold-down rear seats
Or come up with something clever.
I’m a masochist and opted for the third option. The idea of shooting holes into my sheet metal didn’t sit well with me. Mounting the amp to the back seat was plausible, but not only are the seats curvy, where will you run all the ugly wires?
First, you need to remove the left rear brake light cover housing by turning the retaining screw counterclockwise and pulling up and out.
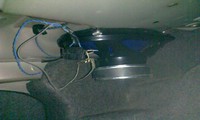
Next, you need to remove the left rear speaker. To remove the grill, push your thumbs against the front edge. Once you bend the grill sufficiently, you can push upwards. Next, remove the two screws holding the speakers in place. There should be (at least on mine) a metal clip holding the whole unit in place. Push this tab and the speaker will drop out.
Now you can work the molded carpet on the side of the trunk outwards.
You will now see the factory amp. It’s held in place by three 10mm bolts.
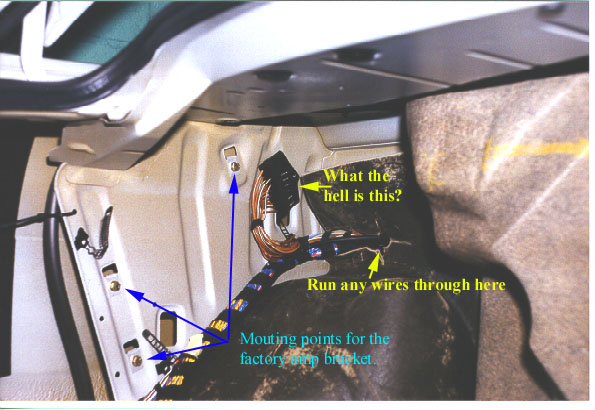
I looked around and removed the black plastic trim left to the spare tire by removing the plastic nuts. I found what I though to be a perfect location. There were already holes in the sheet metal for me to secure a bracket to. I pestered my uncle for some 3/4″ plywood stock–we are talking about a 15 pound metal object subjected to the extreme cornering forces of my M3–and fabricated a sturdy bracket.
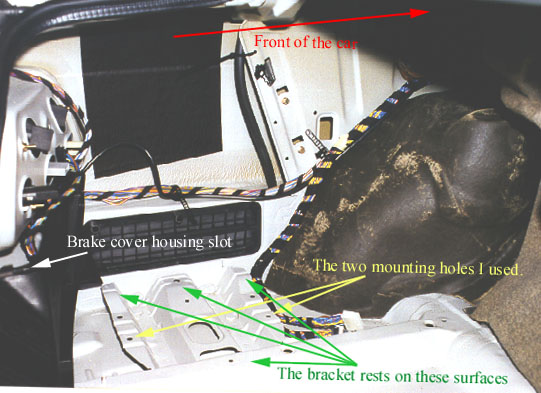
I used 2″ 1/4″ bolts with washers to secure the bracket in place. If you look, you’ll see the area with the holes is lower than the rest points. I used a piece of scrap 3/4″ plywood to make a shim. It works perfectly.
I cut the factory amp connectors off. I ended up following Bob Hazelwood’s advice and ordered two (you’ll probably need three�so I’m short a connector) 14-conductor mini-fit molex connectors from http://www.digikey.com. Definitely order the crimp tool while you’re at it. It makes life so much easier and the crimps look real nice.
I wired up the crossovers into the factory wiring. Some people run new wires. Well, I looked at the gauge of the wires running to the front woofers. I think they are at least 16ga�.good enough. Here’s the end result:
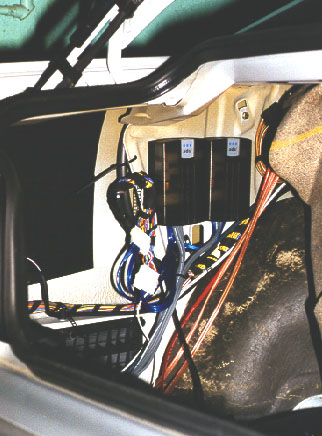
After running wires and soldering everything (oh, solder all crimp connections just in case!), roll back the carpet, place the brake light cover back, and install the amp bracket and amp. I had to cut 1/2″ off the bottom of the molded carpet (a new one costs $45) so the bracket would fit easily. I was planning on lifting it and squishing the bracket underneath, but after all the wires were in place, there was really no room.
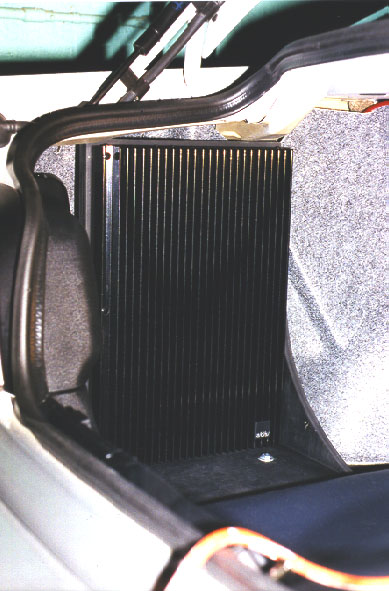
Running Wires
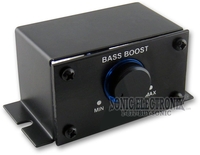
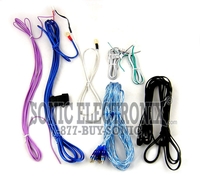
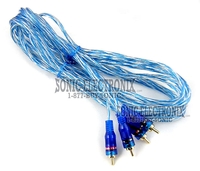
I decided to run a 4-conductor wire for my radar detector, 8-conductor wire for the bass control, and a patch cable for the new head unit. Time to run wires.
First, remove the rear seat. This is accomplished by hovering over the seat as if you’re about to sit on it. Grab right underneath the lip of the leather and pull up.
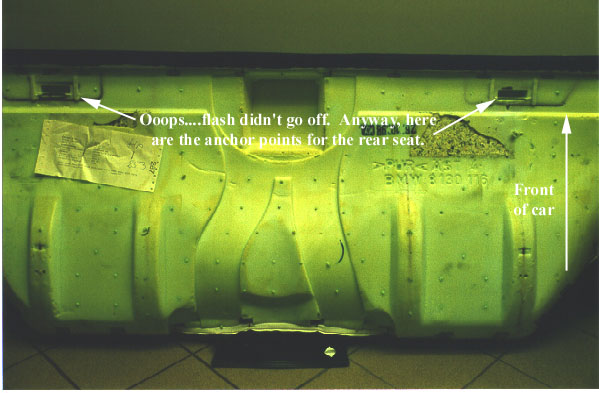
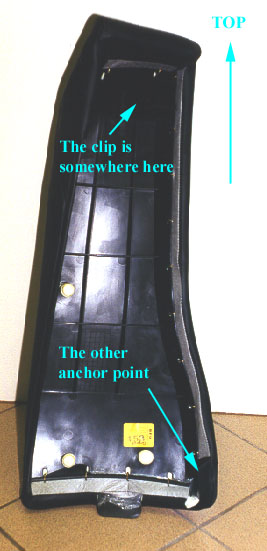
Next, remove the side bolster next to the fold-down seat. The latch is on the top of the bolster. I guess you could simply grab and yank. I wedged my fingers at the bottom between the bolster and the side panel and ran my fingers upwards. Once there, I was able to get leverage to pop the clip off. The remaining anchor point is on the bottom where the seat hinges. Simply push in with your finger and the side bolster will come off.
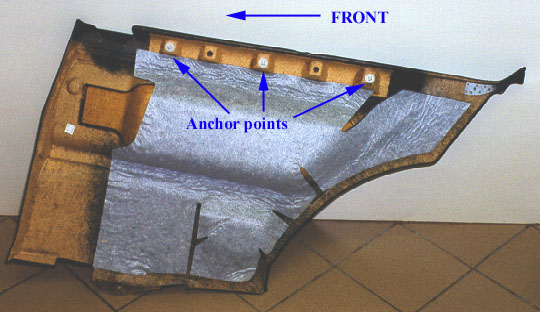
Next, remove the side panel. The body clips are located at the top. I put my hand at the rear and pulled. Pop�came right off. See the picture for the anchor points.
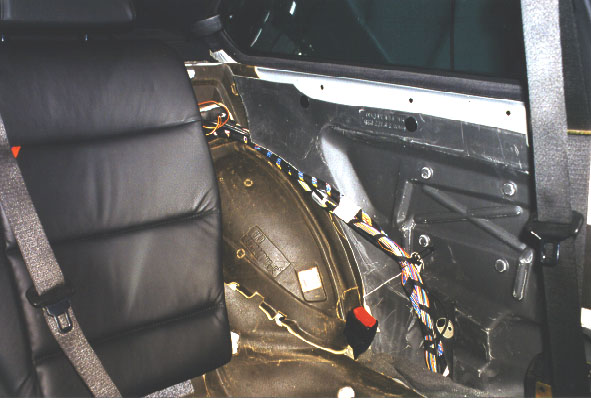
You’ll need to remove or at least loosen the center piece between the seats in order to run the wires. A picture is worth a thousand words:
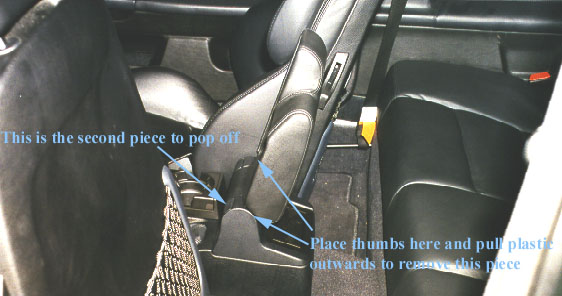
Pop the hazard light out using a butter knife covered with a cloth. It’s easiest to pop out at the left side. There will be a screw there holding down the front of the center piece.
Once that’s removed, the center piece will be loose. You can run wires now or if you’re like me, you can actually remove everything. The armrest bracket is fastened to the chassis using three 13mm bolts. You’ll need a swivel/universal socket to remove the front two. A box wrench will remove the rear bolt.
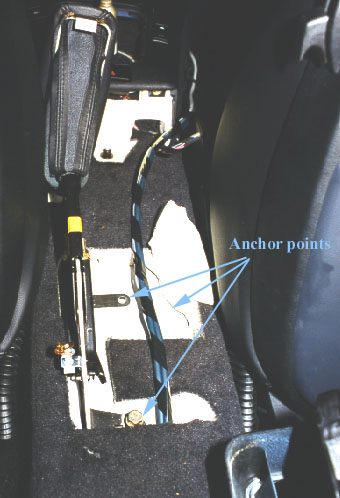
Put everything back. You feel better now, right? There it is�a complete audio overhaul. More pictures to come when the stealthboxes arrive. Sorry for the graphics intensive page.


