Changing BMW E36 Microfilter . . . DIY!
posted in Do It Yourself, Interior, Technical Info, Tips & Tricks |
Hi, I’ve found this DIY (Do It Yourself) about how to replace your BMW E36 Microfilter and I thought I should share it with you guys. For those of you who may be unfamiliar with the microfilter. It’s the part which is responsible for cleaning (filtering) the air which is going inside the car from outside while your fan (or condition A/C) is running. I hope you find it useful. Finally, I just want to thank old skool the original author of this DIY.
Disclaimer: Use this info at your own risk!! I’m not responsible if this didn’t work for you :-).
IMPORTANT: This DIY is based on left hand drive cars. If you have a right hand drive E36, you’re supposed to access the filter from the right, not from the left
The first step is to remove the glovebox. Read here about Removing BMW E36 Glove box
After the glovebox is removed, you will want to remove the plastic air vents that feed the footwell in order to gain better access to the microfilter compartment.
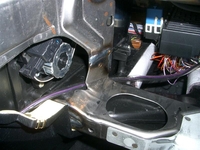
To do this you need to push down on the back of the plastic vents to release a vertical clip holding it up. You can see it in this picture:
Just forward of the purple wire in the clear plastic covering you see a vertical post near where the plastic is coated with insulation.
The second clip can’t be seen as it is on the underside of the vents inside the vent right at the center of the car. To remove this press up from the bottom until it pops out and then pull away from the center of the car to release the snap fitting of the vent and then wiggle it out and towards the front of the car to clear the metal frame that it is tightly fitted into.
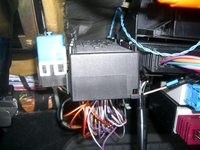
Now you have to remove this. There is a release clip at the top center. Pull left in the picture and then push up on the unit to remove it.
Here it is removed and you can see the release clip in the middle and the other two slide clips on either side.
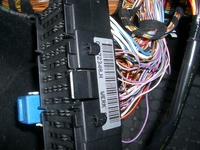
(Some people have another black tray attached to the top of this clip. You will have to remove the top tray first. In order to do this, you slide the top tray back as far as it will go and then lift up. You can see the 3-4 sets of grooves in this picture. Installation is the opposite of removal.)
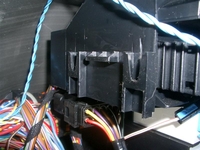
Here is the console it fits into. You can see how it attaches.
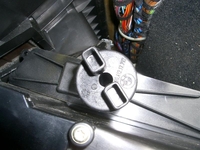
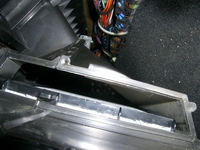
Now this is the access to the microfilter. Up is the front of the car, right is the floor, left is the hvac core.
Twist this and pull it out to expose the microfilter.
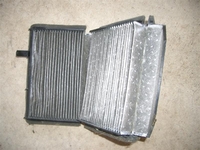
Push the black tab shown on the filter towards the front of the car to release the foam seal. Then pull away from the center of the car to remove it. The frame is broken in three places and will make a bit of a mess…just keep pulling and working at it until it is removed.here it is. Yuck!
To insert the new one, simply break it in the three obvious place on the plastic frame so that you can carefully feed it in the opening and clear all the components under the dash. When it is in, just press it towards the front of the car to fit the foam seal. Reinstall the cover and twist in the opposite direction to secure it. Then simply reinstall all the pieces of the dash.
Are you looking for more do it yourself procedures (DIY) ? I recommend the Bentley BMW 3 series service manual for you. I got it and I think it’s a gold mine for us -BMW E36 Owners-. If you didn’t grab your copy yet, get it right now! I’m sure you’ll find this book worth every penny you’ve paid for. Get the Bentley BMW 3 series service manual
BMW E36 Blog: The ultimate BMW E36 information source.
Related Posts:-

Want to receive exciting tips & information about BMW E36 cars? Enter your Email:-




posted on April 9th, 2008 at 5:24 am
posted on May 7th, 2008 at 9:33 am
posted on May 7th, 2008 at 4:25 pm
posted on May 12th, 2008 at 8:14 am
posted on September 6th, 2008 at 6:38 pm
posted on November 16th, 2008 at 2:55 pm
posted on February 15th, 2009 at 3:40 am
posted on October 8th, 2011 at 10:04 pm