Thanks to Valery for the translation of the Professional Car Audio Upgrade. He is so kind and has translated the whole DIY for us. I’m still confused a little bit about some parts of this DIY because I don’t have much knowledge about fiberglass, but I think the result is awesome! Now, you can understand the procedure easily. Thanks again Valery.
Disclaimer: Use this info at your own risk!! I’m not responsible if this didn’t work for you :-).
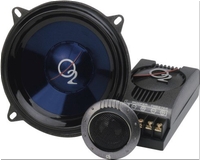
Hi everyone, I’m 19 and I own a E36 325TDS with a lot of extra parts for it so that I modify inside and out a little bit. I installed a Oxygen Alium 5, 13cm diameter Kit and a 20cm Speaker Oxy Alium 203.
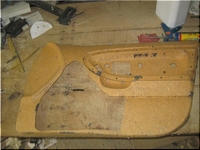
First, I removed the vinyl, and then cut the panel
Next, I cut a piece of MDF (Medium Density Foam) of 19mm thick
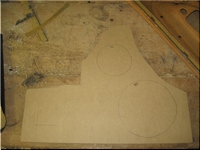
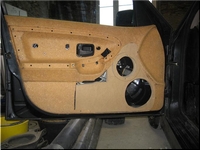
A little bit of fiber to maintain the MDF. Check out the door:
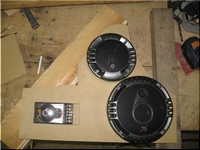
Here is what I used, you’ll tell me “It is not wow” but I couldn’t afford better, these speakers are really good for the price.
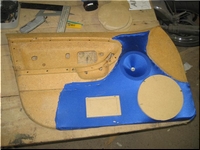
Setting the canvas, this is not some cheap fabric :p this is lycra 😉 I know I know 😉 back to work, major advantage of the lycra is its scalability.
Application of resin (What is that? Ken can you help ?):
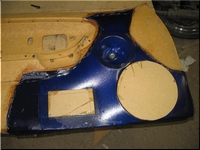
Once the resin is dry on the fabric, cut a piece of glass fiber as so:
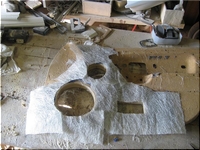
What you get once resin applied:
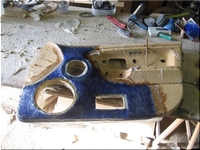
Now the most annoying part of the project 🙁 smooth all of it :s: I hate doing it lol Here is what you get when installed:
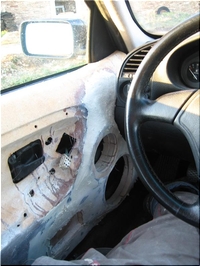
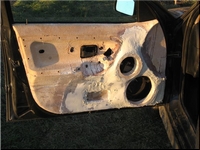
The installation progressed a bit, I replaced my previous kit by a MAC Audio Diamonds 2.13Here are the pics 🙂
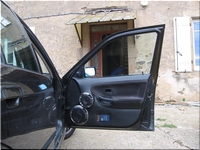
So, It’s been a while since I’ve done it, I will soon replace them by a Focal Utopia 136W kit.
My latest project:
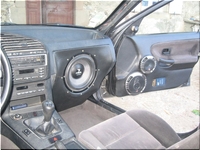
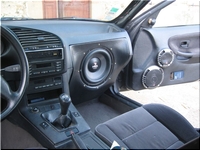
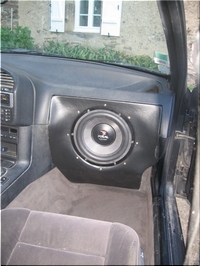
Here is the idea, as you might remember I’ve installed new speakers in my doors, I then realized that I couldn’t open my glovebox anymore lol Anyway, I decided to fit a subwoofer instead of the glovebox.The subwoofer is a Focal 27A, here we go, pictures !
First, build the box in medium 19mm, I reached a volume of 15L. I had to take out the fan system to gain space and pack everything to fit it in.
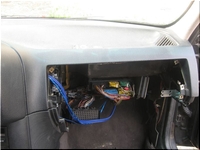
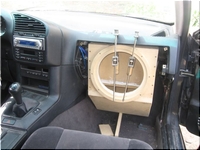
Fixing plate to hold it
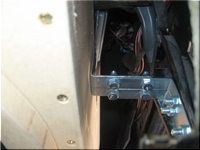
What It looks like after the Subwoofer is inserted.:
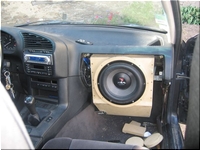
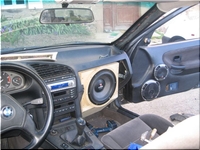
Application of the canvas to get a good shape.
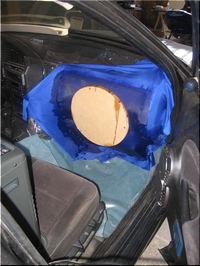
I then used foil to unmould the shape I got, made of fiber.
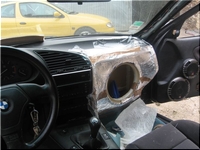
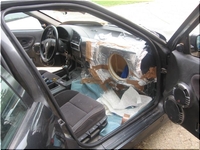
What you get with 3 layers of fiber. Where I am right now.
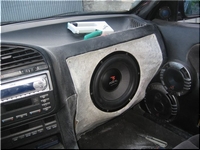
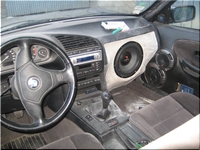
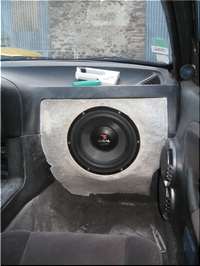
Smooth the whole thing and black vinyl, with golden screws. Check out the result
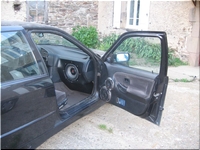
Are you looking for more do it yourself procedures (DIY) ? I recommend the Bentley BMW 3 series service manual for you. I got it and I think it’s a gold mine for us -BMW E36 Owners-. If you didn’t grab your copy yet, get it right now! I’m sure you’ll find this book worth every penny you’ve paid for. Get the Bentley BMW 3 series service manual
BMW E36 Blog: The ultimate BMW E36 information source.


 (4.86 out of 5)
 (4.07 out of 5)


