I always wanted to illuminate my BMW shift knob and I didn’t realize that it’s a straight forward job. I recall that I had to cut into my shift knob to do this to my BMW E30 before and the job was very hard to do and it didn’t look like I was expecting. Of course, that’s before I find out that there’s an illuminated shift knob that is ready to be installed. So, by getting this illuminated shift knob, the task became very easy. Take a look at the DIY below. It’s a straight forward task to do. I hope you like it
For those of you who like to fix their BMW car(s) by themselves, I recommend you to get the Bentley BMW 3 series service manual which is one of the best books I’ve ever read. I got it and recommend you to get one for you as it will save you too much time and money while fixing your car.
Disclaimer: Use this info at your own risk!! I’m not responsible if this didn’t work for you :-).
I have seen a lot of threads about lighted shift knobs and many suggestions on how to install it. What follows is the factory
intended retrofit option. (Although I am technically removing the wiring, it is the same for installation.)
Unscrew the Phillips head screw holding the dimmer console in place. The dimmer console is located to the left of the steering wheel. This console then easily pops out of the dash.
What you see connected to the back of it is the factory retro-fit wiring harness.
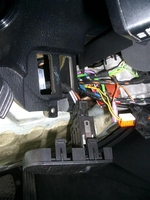
You want this wire to terminate in the shift console to be connected to your shift knob.
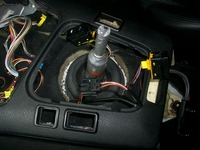
I ran this wire under the carpet with the other wires. This is what it would look like before tucking it under the carpet:
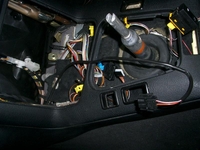
With a little slack the wires pull part way out of the dash back at the dimmer console:
Plugged into the back of the add on wiring harness is the standard wiring harness for the interior lights.
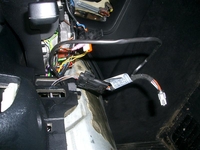
I ran the wires through the dash behind this:
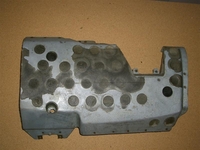
You have to take off the under dash, driver’s side knee panel to get to this. It removes with a wratchet extension and an M10 socket.
With this piece removed you can see I ran the wire behind the factory wire strap to hold it in place. This opens simply by pulling out from the top.
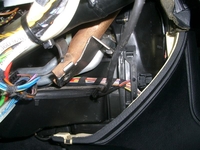
In total it would look like this:
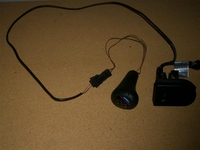
I think the entire deal, knob and wiring harness came shipped from pacific for under $100.
To gain access to the shifter area do the following:
Pull the shift knob up. This takes some force, don’t be worried but don’t hit yourself in the head either. The shift boot removes easily by pulling up on the sides at the corners. To remove the sunglass console you first have to remove the check computer (OBC). To do this reach your hand into the sunglass console and find the hole in the middle in the top. Press up to release the catch on the OBC and push it forward from the back. Then slide the sunglass console up and then rotate it out.
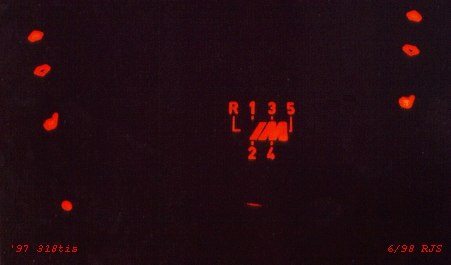
The driver’s side knee panel has three screws. One on either side of the steering wheel and one in the footwell on the center console side. This panel slides out with a little effort. Then you have to remove 3 bolts with a 10mm socket on the metal heat guard as described above. To remove the OBC refer to the cubby removal DIY in my sig. Here is the final install picture:
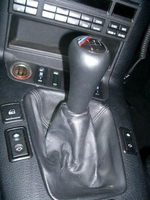
This is a screenshot of how it should look like when it’s done
You can get the illuminated shift knob from here. Just look for part #25 11 2 231 561 or #25 11 2 231 551
Are you looking for more do it yourself procedures (DIY) ? I recommend the Bentley BMW 3 series service manual for you. I got it and I think it’s a gold mine for us -BMW E36 Owners-. If you didn’t grab your copy yet, get it right now! I’m sure you’ll find this book worth every penny you’ve paid for. Get the Bentley BMW 3 series service manual
BMW E36 Blog: The ultimate BMW E36 information source.


 (4.86 out of 5)
 (4.07 out of 5)


